Of the many materials in the world, leather results in some of the best products. However, the creation of leather itself is a lengthy and important process. If you plan to make leather or just want to know more about this material, read on for the complete guide to how leather is made.
Preservation
Once you’ve chosen the animal hide you want to make into leather, you’ll need to preserve it before starting the process. Curing animal hide is a typical method to ensure preservation.
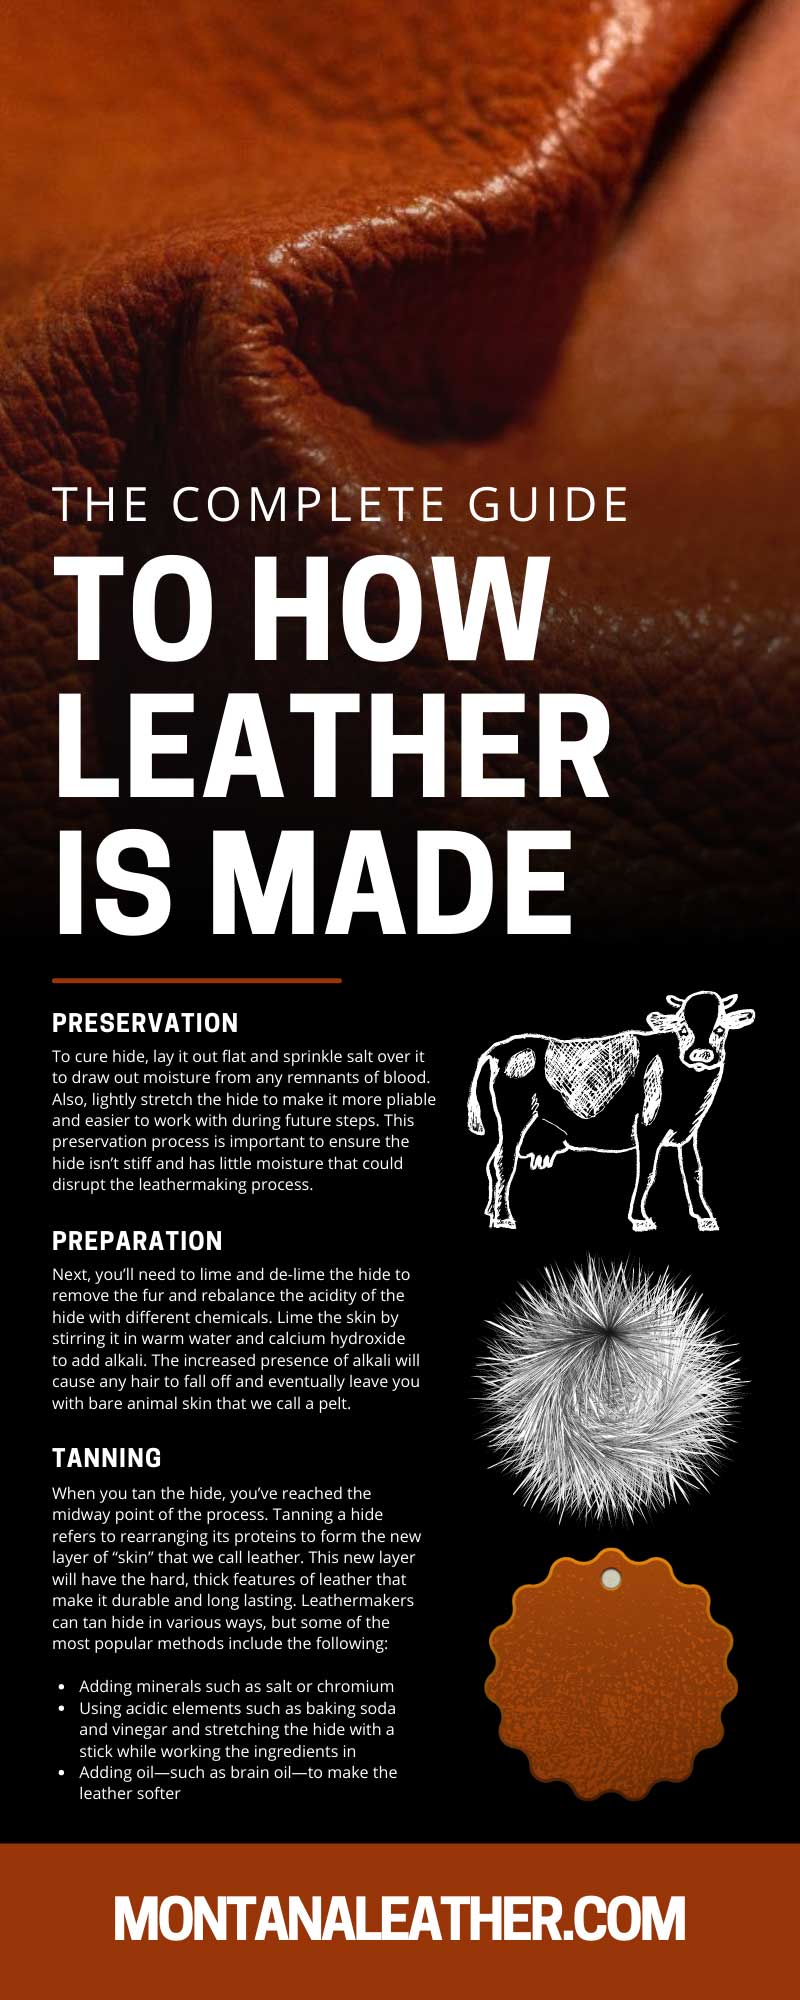
To cure hide, lay it out flat and sprinkle salt over it to draw out moisture from any remnants of blood. Also, lightly stretch the hide to make it more pliable and easier to work with during future steps. This preservation process is important to ensure the hide isn’t stiff and has little moisture that could disrupt the leathermaking process.
Preparation
After the hide is dry and you’ve removed the moisture through osmosis, you must prepare the animal skin. First, you must rehydrate the skin by soaking it in water to remove the salt and any dirt that may have accumulated in storage during the curing stage. A container of clean water will be enough to remove particulates.
Next, you’ll need to lime and de-lime the hide to remove the fur and rebalance the acidity of the hide with different chemicals. Lime the skin by stirring it in warm water and calcium hydroxide to add alkali. The increased presence of alkali will cause any hair to fall off and eventually leave you with bare animal skin that we call a pelt.
Once the fur is off, you’ll need to use a lime remover to decrease alkali and add other chemicals in later steps. Fleshing is also an important step that helps remove excess flesh by running the animal skin through a machine that trims it off.
Bating and Pickling
Once you’ve made the hide bare, you’ll need to soften it and apply more acid to prepare it for tanning. Bating the pelt entails the addition of enzymes to make the pelt soft and easier to work with. Modern leathermaking techniques offer a variety of bating agents to apply enzymes. For instance, fermented fruit may prove effective in some cases but will take longer and may not have the best results in softening the pelt.
After bating, pickle the skin to add a thin layer of acid that makes tanning easier. Use weak acids and salts to increase the pH level to three and prevent swelling.
Tanning
When you tan the hide, you’ve reached the midway point of the process. Tanning a hide refers to rearranging its proteins to form the new layer of “skin” that we call leather. This new layer will have the hard, thick features of leather that make it durable and long lasting. Leathermakers can tan hide in various ways, but some of the most popular methods include the following:
- Adding minerals such as salt or chromium
- Using acidic elements such as baking soda and vinegar and stretching the hide with a stick while working the ingredients in
- Adding oil—such as brain oil—to make the leather softer
Each method will have different results and be the determining factor for how the leather will turn out. Ultimately, tanning is one of the most important steps in any guide to how leather is made. It’s what creates a strong material that people rely on to withstand moisture and temperature changes. Choose your method carefully to create the ideal leather for your crafts.
Splitting and Shaving
After tanning, you must shave down the leather to the desired thickness. First, split the leather using a leather splitter to slice it into two layers. The layer without any grain won’t have any use in the rest of the leathermaking process, but you can keep it to make suede.
The half with the grain will have another side without grain, which you’ll also need to split and shave. Splitting the leather will help you achieve the thickness you want. Perform this step until the grain appears on both sides of the leather layer.
Adding Dyes and Oils
You could add any number of dyes for the color you want to achieve, such as brown or black. Then, add oils to lubricate the leather and make it flexible and soft. Leather’s tough but soft and pliable texture is thanks to the oils in this step. The oils prevent dryness and cracking after long periods and give the leather a nice sheen. Use almond, coconut, or mink oil for the best lubrication and long-lasting effects.
Sammying
You’ll need to remove the moisture again at this stage, just as you do in the first step of the process. You can do this via sammying, a process involving a machine that removes and evenly distributes most of the remaining moisture in the leather. Multiple rollers inside the machine press and pass on the leather, squeezing out excess moisture.
Stretching
When you need to expand the size of leather for the item you plan to make, you’ll need to soften and stretch it. There are various ways to stretch leather, including submerging it in water and stretching it or softening certain areas with leather softening spray before stretching.
Leather is a flexible material, so you won’t need to worry about tearing it. Just make sure you stretch the leather before applying seams and stitching; stretching it later will cause them to split.
Drying
You need to dry your leather before adding any finishing touches or turning it into a product. Most drying in leathermaking is air-drying or vacuum drying, but pasting and toggling are also options. Pasting involves spreading a plant-based starch onto the leather’s surface that will cause it to dry while maintaining its sleek surface and flexibility.
Toggling involves air-drying the leather with clamps—called toggles—and holding it down. The toggles gently stretch the leather and keep it in a stable position to retain a specific shape and degree of stretch.
Adding Finishing Touches
As the last step in this guide, you’ll need to perform the finishing touches to ensure the leather is in good condition before using it for leatherwork. Remove any issues in the grain, balance out the gloss level, and add a protective coating to ensure protection against water.
Once you’ve finished adding your final touches, measure the leather by machine to approximate its worth. People buying leather in bulk want to know the price by the area of the leather, and the measurement will be an important determiner for it.
Leathermaking is a detailed process; you’ll need as much knowledge as possible to make the best products. Use this guide to expand your knowledge or to help you make leather and develop your tanning skills for future projects.


