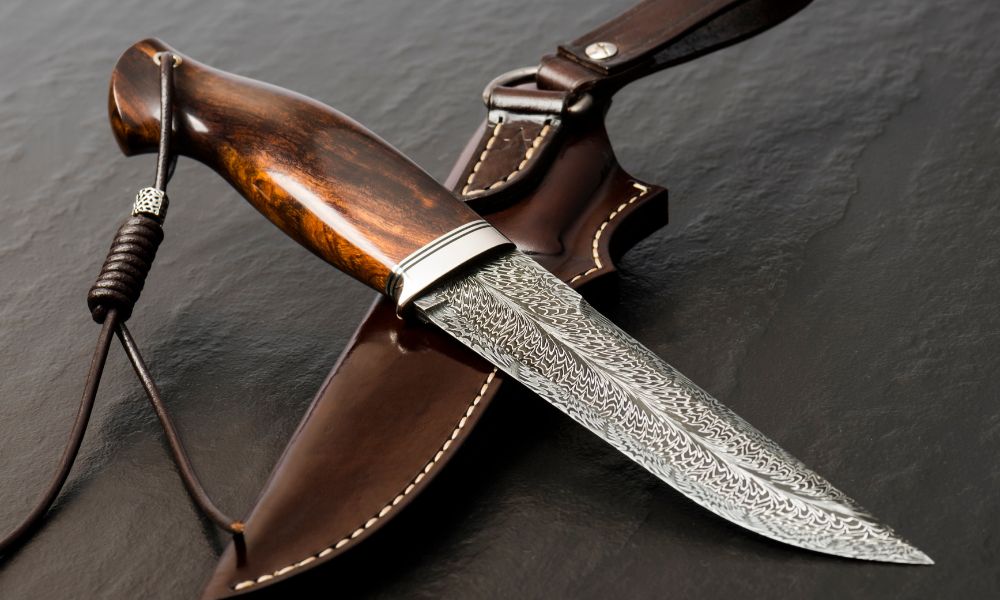
A leather sheath is a fantastic and practical place to begin your leatherworking hobby. Not only is it a good project you can do in the comfort of your own home, but it also provides a stylish form of protection for any blade in your home—whether that be kitchen knives or utility knives. To ensure you create a sturdy and beautiful sheath, let’s talk more in-depth about how to make a leather knife sheath at home, the materials you should consider, and what tools you’ll need to get the job done.
Choosing a Material
Your first task will be to choose what kind of leather you’re going to use, however most experts will recommend using veg tan leather to help protect your knife sheath. Different kinds of leather provide different qualities, such as improved strength or durability, as well as different appearances that make your knife sheath unique. These include a top grain that is smooth and clear of blemishes, or full grain, which is more rugged from scars and other blemishes.
You’re free to choose whatever kind of leather you prefer the most. Just ensure that you’re using the same kind of leather for the entire sheath, otherwise the final product will look mismatched or resemble patchwork. If you’re having trouble figuring out how much leather you need for your sheath, we have a kit that will provide you with the exact amount you’ll need.
When choosing your leather, there are two methods of leather treatment that you’ll want to pay attention to. Veg-tan leather is stiffer and will most often be laid out or folded when put on display. Veg-tan leather is by far the most customizable, as it’s capable of being dyed in various colors or stamped with designs. When being sold, you’ll see veg-tan leather being sold by weight, which actually refers to how thick the leather is rather than how heavy it is. For knife sheaths, you typically want to use 6-8 ounce leather, which is about 3/32”-1/8” thick.
The second type of tanned leather, chrome-tanned leather, is usually much more supple and flexible in comparison. While some chrome-tanned leather can be comparable in rigidity, it is less customizable, both in terms of recoloring and stamping your leather. While it is certainly possible to use chrome-tanned leather for knife sheaths, corrosion can occur from chromium salt exposure, and it should thus be avoided.
Necessary Tools
Now, let’s discuss the tools you’ll need to successfully craft your knife sheath without any unnecessary hassle. There is a huge selection of leatherworking tools available to you, so it helps to narrow them down so that you only need to invest in the tools you need.
- Leather Cutting Knife – Sharp, strong, and reliable, this knife is specifically designed to cut cleanly through leather, whereas other knives may fray or damage the leather.
- Groover – The tool that marks where you should stitch and creates the groove for your stitches.
- Pricking Wheel—Similar to the groover, this tool is used to mark stitches along a curve, particularly around the sheath’s tip.
- Stitching Awl—This tool creates the holes that you’ll then run your waxed thread through when putting your leather pieces together.
- Mallet—If you’re using veg-tanned leather, this mallet will be necessary for stamping or marking. Otherwise, the mallet can be used to assist in the cutting process.
- Waxed Thread—Waxed thread is much more durable, waterproof, and much easier to work with than normal types of thread.
- Harness Needles—These sturdy needles do not pierce the leather, but rather guide the thread through pre-punched holes.
- Edge Beveller—When completing the finishing touches for your sheath, this tool will help round out and smooth out rough edges.
- Stitching Palm—This is typically recommended for your comfort, as it will help prevent sore fingers from pushing your needles through the leather. The piece of gear goes over your palm as an alternative for pushing rather than using your fingers.
These are the essential tools you’ll need to complete your craft, but some helpful tools to have on hand include leather cement, masking tape, dye, and a burnisher, to name a few. While not strictly necessary, many hobbyists find such tools convenient for ensuring their crafts are durable and well put together.
Sheath Designs
For homemade knife sheaths, there are two basic types you can make: the fold-over or pouch-style sheath and the two-seam sheath. The pouch-style sheath only uses one kind of leather that is folded over itself and sewn along the sides. The two-seam sheath lays two pieces of leather on top of each other and then stitches up the sides.
Beginners will find the fold-over pouch-style sheath the most straightforward, and it’s thus recommended, but you can choose from either. Just make sure you have the right instructions if you’re following a guide for assistance.
Creating Your Sheath
Now that you have everything you need to prepare, we can talk about how to make a leather knife sheath at home. Your first step will be to create a template on stiff paper, cardboard, graph paper, or even old file folders. This will serve as a guide for your cutting knife and help you determine where the fold of your sheath will be.
After creating your design template, you can finally move it over to the leather itself. After cutting out the paper template, mark which side of the template is the “inside” and the “outside.” You’ll then place the inside of the template on top of the leather, which will serve as your guide for cutting the leather. If the template feels like it’s sliding around too much, you can use masking tape to keep the template in place. After the template design has been transferred to the leather, you’ll want to do any dyeing or stamping before proceeding to the trimming and stitching phase.
Once you’ve finished transferring the design and adding details like dyes and stamping, you can begin the stitching process using harness needles and waxed thread through pre-punched holes. Sometimes, it is necessary to make what is called a gusset, where an extra piece of leather is placed along the spine of the knife sheath. This creates a wider area for the spine of the knife to fit in, while the portion for the blade side will remain thinner. The rotary cutter is then used to round out any rough or uneven edges.
Once all your edges are rounded, you’ll start at the tip of the sheath and use a single- or double-needle technique to seal up the side of the sheath. Once you reach the top, go back the way you came for an incredibly durable seam and repeat the process for the other side of the sheath.
After you’re done stitching your sheath, try it out with the intended knife. Your sheath should be a bit snug, because with time and use, it will loosen up and become more accommodating. If the knife fits well, you will have successfully crafted your knife sheath. Congratulations!


