When European settlers came to the Americas and interacted with the indigenous population, one of those tribes, the Algonquin, told the settlers their term for their footwear was “moccasins.” Made from leather and featuring either a soft or hard sole, artisans customized moccasins to best suit the needs of the environment that the tribes lived in.
With various styles and designs, moccasins have persisted to the modern era – often as slippers or casual footwear – and are a fun DIY project aspiring leatherworkers can make for themselves. If you’re interested in embracing such unique footwear, here is a step-by-step guide to making leather moccasins.
Equipment You’ll Need
First, we’ll need to establish what you’ll need to start. Regarding the materials for the moccasins themselves, we highly encourage beginners to use a leather kit. Leather kits contain all the prepared materials you’ll need to construct your moccasins, which makes them a great learning tool for newcomers. If you want to start from scratch, this guide will detail the process of preparing your leather.
As for your tools, the list can be a bit exhaustive, but necessary to ensure you have an easy and productive time. You will need the following:
- Leather-Cutting Scissors
- Harness and Glover’s Needles
- Half Inch Chisel
- Thonging Chisel
- Rotary Cutter and Pad
- Ruler Set
- Sandpaper or Skiver
- Safety Glass or Marble
- Rotary Punch/Round Hand Punch
- Maul or Mallet
- Pounding Board
- Compass
- Pens or Pencils
- Wing Dividers
Since the kits have already prepared the leather for you, you can skip the tools necessary for preparing the leather and focus solely on the tools for constructing your moccasins.
Preparing the Leather
With your tools gathered, we can finally start our step-by-step guide to making leather moccasins. For those not using a kit, we’ll begin by preparing your leather. To start, you’ll want to trace the outline of your foot on your leather. When measuring out your foot size, keep in mind that you’ll want three-fourths of an inch of space at the heel and 1½ inches of space at the big toe, so add these measurements to your foot tracing.
Next, straighten your outline’s curves by placing a ruler on the outside edge of the big toe and ending at the heel’s edge– draw a straight line between them. Then, move the ruler to the other side, measuring from just outside your little toe to the outside edge of the heel, and draw another straight line. Lastly, smooth out the toe bumps with an arched line that touches the tip of each toe. Once completed, you can go ahead and cut out your sole patterns.
Before starting your moccasin pattern, double-check your work by laying your soles on top of each other. If there is less than a three-eighths-inch difference between them, you can make a single moccasin pattern that will work for both soles. If there is more than a three-eighths-inch difference, you’ll need to make a moccasin pattern specifically for each foot.
For your moccasin pattern, get a sheet of paper that is at least three inches longer or four times wider than your sole pattern. First, fold the paper in half lengthwise and crease it. You will then lay the inside of the right-foot sole pattern so that it’s three-fourths of an inch to the right of the crease and the heel is three-fourths of an inch from the edge of the paper. Go ahead and trace the sole pattern onto the paper.
Setting the sole pattern aside, use your ruler to mark another three-fourths-inch beyond the big toe, middle toe, little toe, and on the outside of the base of your little toe. Connect each mark with an arched line starting from the crease – stopping at the mark on the outside of the little toe. You’re now ready to cut out the pattern; the easiest way is to draw a line from the heel to the edge of the paper to serve as a cutting guide.
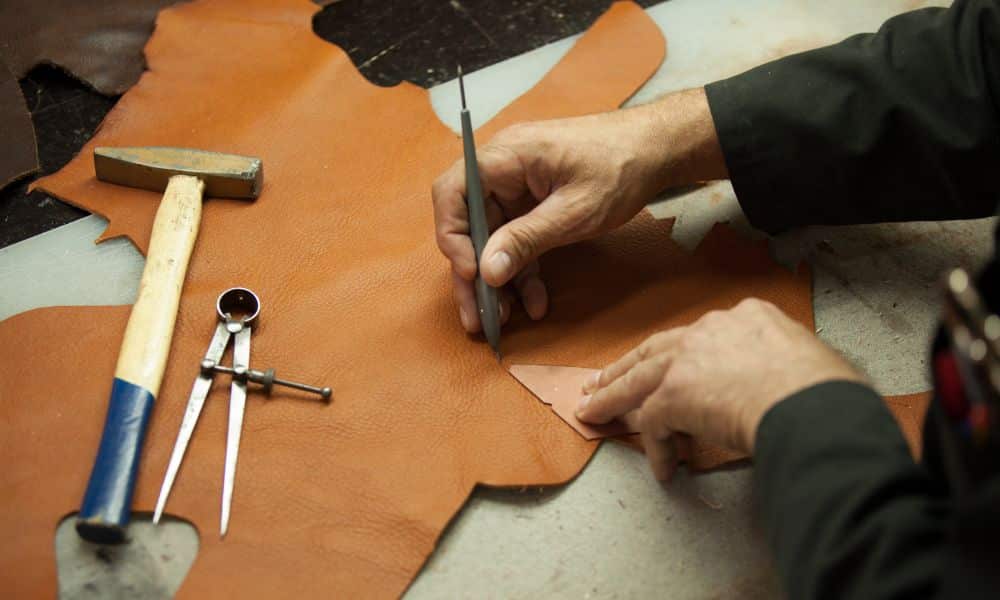
Laying your leather on a flat surface with the membrane facing up, place your moccasin pattern on top and trace it onto the leather. Remove the pattern and cut out the leather for your moccasins. Repeat this process with your lining material.
Constructing Your Moccasins
After laying the liner on top of your leather pattern, and making any needed adjustments, use clips to secure one side of the pattern. Peel back the unclipped side and apply the cement to the surface of the leather membrane – for thorough bonding, make sure you unclip the other side and cement any surfaces you may have missed. Once the cement has cured, you can move on to the next step.
Sewing
In this step, you’ll sew the moccasins with the dressed side in, dress the seam, and then turn the finished side out, so the seam is around and outside the moccasins. With the liner side up, lay the moccasins on a flat surface with the toes or arched part facing away from you. Pick up one of the moccasins and fold the left half under the right half for the right moccasin and vice versa for the left moccasin.
From where the seam meets the fold, whipstitch the seam and stop at the corner at the heel’s outer edge. Once you’ve tied off the sinew, dress the seam. Don’t sew up the heel now; you’ll want to turn the moccasin right side out by working the toe through the open heel.
Create the Foot Hole
For your foot hole, you’ll cut the hole to half the width of the moccasin and about half the length from heel to toe. Once cut, your foot hole should look like a capital “T.” You’ll know you have a good fit if there is a three-eighths-inch to one-half-inch overlap at the back of the moccasin. If the fit is right, you should make some relief cuts by cutting at a right angle to the line about one inch in each direction.
Tongue and Ankle Cuff
The tongue should be about four inches tall and three-fourths of an inch wider than the relief cut. Measure and make a paper pattern as you’ve done before transferring to leather and making the cut. Follow the same cement and curing process as above, then make sure you position the tongue so that there is equal overlap on both sides of the relief cut and whipstitch the tongue to your moccasin.
Lastly, the ankle cuff. Measure the length around the foot hole and add one inch to your measurement. When drawing the cuff pattern, make a rectangle that is your current measurement wide and four inches tall before transferring it to the leather. Position the cuff around the foot opening, ensuring each edge overlaps the relief cut by about half an inch, and clip it into place. You’ll need about 4½ feet of sinew to whipstitch the cuff to the opening. Then, pull up the cuff and dress the seam.
From here, you can add your finishing touches and enjoy your hand-crafted moccasins!


