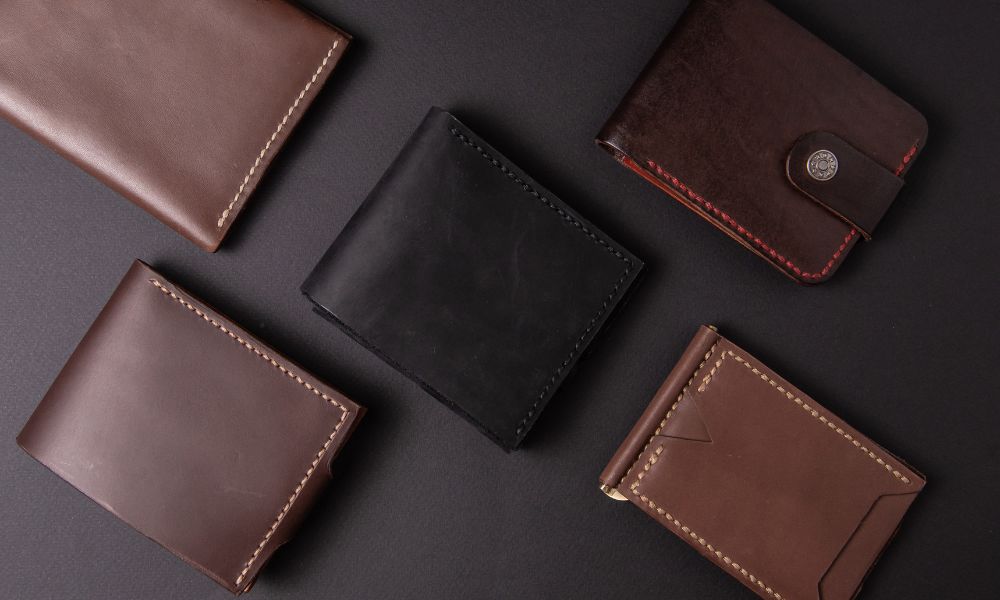
Making leather wallets is a great skill for leatherworkers to learn. However, making a wallet can be challenging for beginners. Here are three ways to make leather wallets that will give you more confidence in your craft.
The Bi-Fold Leather Wallet
Every beginner should try this classic design when learning to make wallets. You can make this design with a piece of leather, a stitch groover, a beveler, and a sewing machine, which are available in most leather supply stores. Begin the process with these steps:
- Cut two pieces of leather to the desired size, then mark the fold line and use the beveler to round the edges for a smooth look.
- Use a stitch groover to make the sewing holes.
- Apply wax to both sides, stitch the wallet using a sewing machine, and finish with edge paint.
The Tri-Fold Leather Wallet
The tri-fold leather wallet is another practical design that provides space for cards and cash. The process and tools are similar to making a bi-fold wallet but with an additional flap. Here are some steps to help you get crafty:
- Cut three leather pieces: one large piece for the wallet’s base and two smaller pieces for the flaps.
- Use a groover to mark the folding lines and make the sewing holes.
- Add pockets and plastic sleeves to each piece before stitching.
- Align the smaller pieces on the larger piece, ensuring they fold neatly over each other.
- Stitch along the sides and the bottom of the wallet, leaving the top open for access.
- Apply edge paint for a polished finish, and let it dry completely before use.
The Cardholder Leather Wallet
The cardholder leather wallet is a compact and simple option, making it perfect for beginners to make. You will need a piece of leather, a ruler, a utility knife, and a leather needle and thread. Follow these steps for crafting:
- Cut two rectangular leather pieces. The dimensions should be slightly larger than a standard credit card.
- Mark and cut out two rectangles on the top half of one piece, leaving about a half-inch border. These will serve as your card slots.
- Align the two leather pieces, placing the piece with the slots on top.
- Use your leather needle to puncture holes along the sides and bottom.
- Sew the pieces together with a saddle stitch, making sure to double back at the beginning and end for added strength.
- Smooth it out by burnishing the edges.
Making a leather wallet may seem daunting, but with the right tools and guidance, you will create a beautiful and functional leather product! These designs are excellent starting points for beginners, and experimenting with styles and colors helps you gain more experience. Gather your leatherworking tools to create unique, beautiful, and functional wallets today!

